Automation in your social media can keep you away from divulging too much time into a platform.
This lets you can best keep your attention on the bigger projects and opportunities.
Not all social media should be automated.
But…
An active stream is very important for delivering value to your community and keeping an active online presence.
There’s no way you can share content at any hour of the day if you do not use some form of automation.
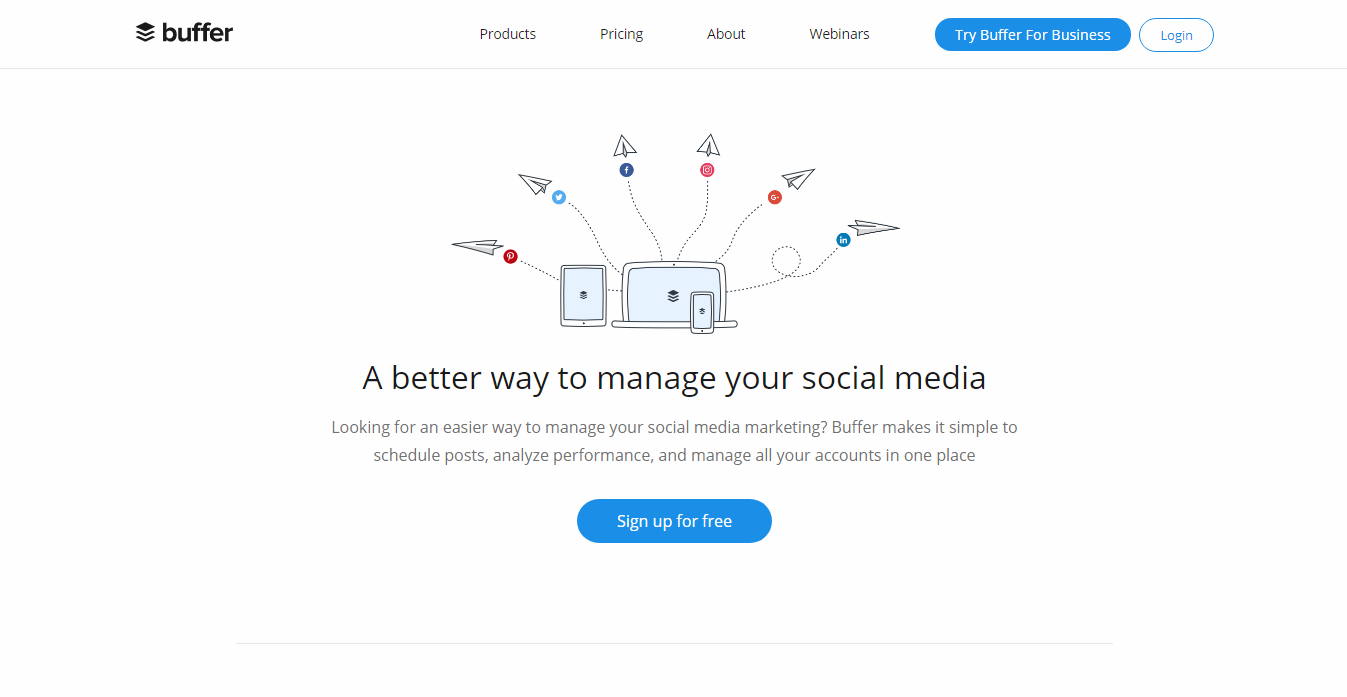
There are many tools available to automate your social media presence but one that has shot up the charts is the service provided through Buffer.
Buffer is a website/app that lets you automate a lot of your social updates and has a great backend for checking the performance of your tweets, FB statuses, LinkedIn shares, and App.net updates.
This article will take you through the basics of Buffer and how to get started on the platform so you’re not wasting large chunks of your day updating your social statuses.
Getting Started with Buffer
Buffer doesn’t aim to be the “everything” tool for social media automation but it does an amazing job at what it has to offer.
The main features that will immediately draw your attention include:
- Multiple social accounts
- Analytics such as likes, shares, and retweets
- Team membership features for multiple accounts
- In browser and app support
The basic account is free and gives you most of what you need to make use of the platform.
The premium subscription allows you to have an unlimited number of posts, extra profiles, and team members.
To get started, visit Buffer.com and sign up for an account using Twitter, Facebook, LinkedIn, or a traditional email/password account.
Once in, connect to your social profiles using the small “+” icon on the top-left of the dashboard.
Two areas you’ll want to configure, after playing around with the platform upon sign up, include:
- Schedule
- Settings
The schedule allows you to set when your buffered status updates are sent out; by default, it’s done about every 4 hours each and every day, but you can change it so it best fits your schedule.
The settings, specifically the link shortening option, will let you change the default service for shortened links (by default it’s buff.ly though you may want to use Bit.ly).
From there, you can let the service roll – that’s all there’s to it for automation.
Every so often you should come back to check your status analytics within the analytics tab; this will show your performance of your update including retweets, likes, and shares. Additionally, you can use the analytics to realign your content and timing with the data you collect in this tab.
When to Automate with Buffer
On a final note about automation – it’s vital to understand when and when not to utilize it in your campaigns.
Yes:
- Doing updates late in the night when you’re away from the computer
- Adding content to the queue when you’re passing through a site
- When you’re out on vacation
No:
- When you’re trying to network with major players in the market
- When you’re trying to sell a product (and don’t follow up)
- When you ask for feedback and fail to reply
It’s vital that social remains social. The value of the networks stems from your ability to interact with people in an open environment so don’t neglect this feature just to rush out a link for promotion. Keep things personal when you have the time and use automation intelligently when you’re away.