A sitemap is something that helps search engines understand your website.
It lets Google what pages on your site you want indexed.
This makes it the easiest way of speaking with search engines directly.
As we all know, being on good terms with search engines always works in your website’s favor.
Read on and learn what it is and how to create one for your website.
What is a Sitemap?
Essentially, this file is a list of pages that are a part of your website.
Search engines can access the sitemap to find every individual page.
This works a lot quicker than locating pages by following normal HTML links.
Sitemaps are put together as XML files that are perfectly understandable to search engines like Google. If you want to provide a map for your users then you’ll have to create an additional HTML-based sitemap.
How to Create a Sitemap
If you’re using WordPress then you’re in luck.
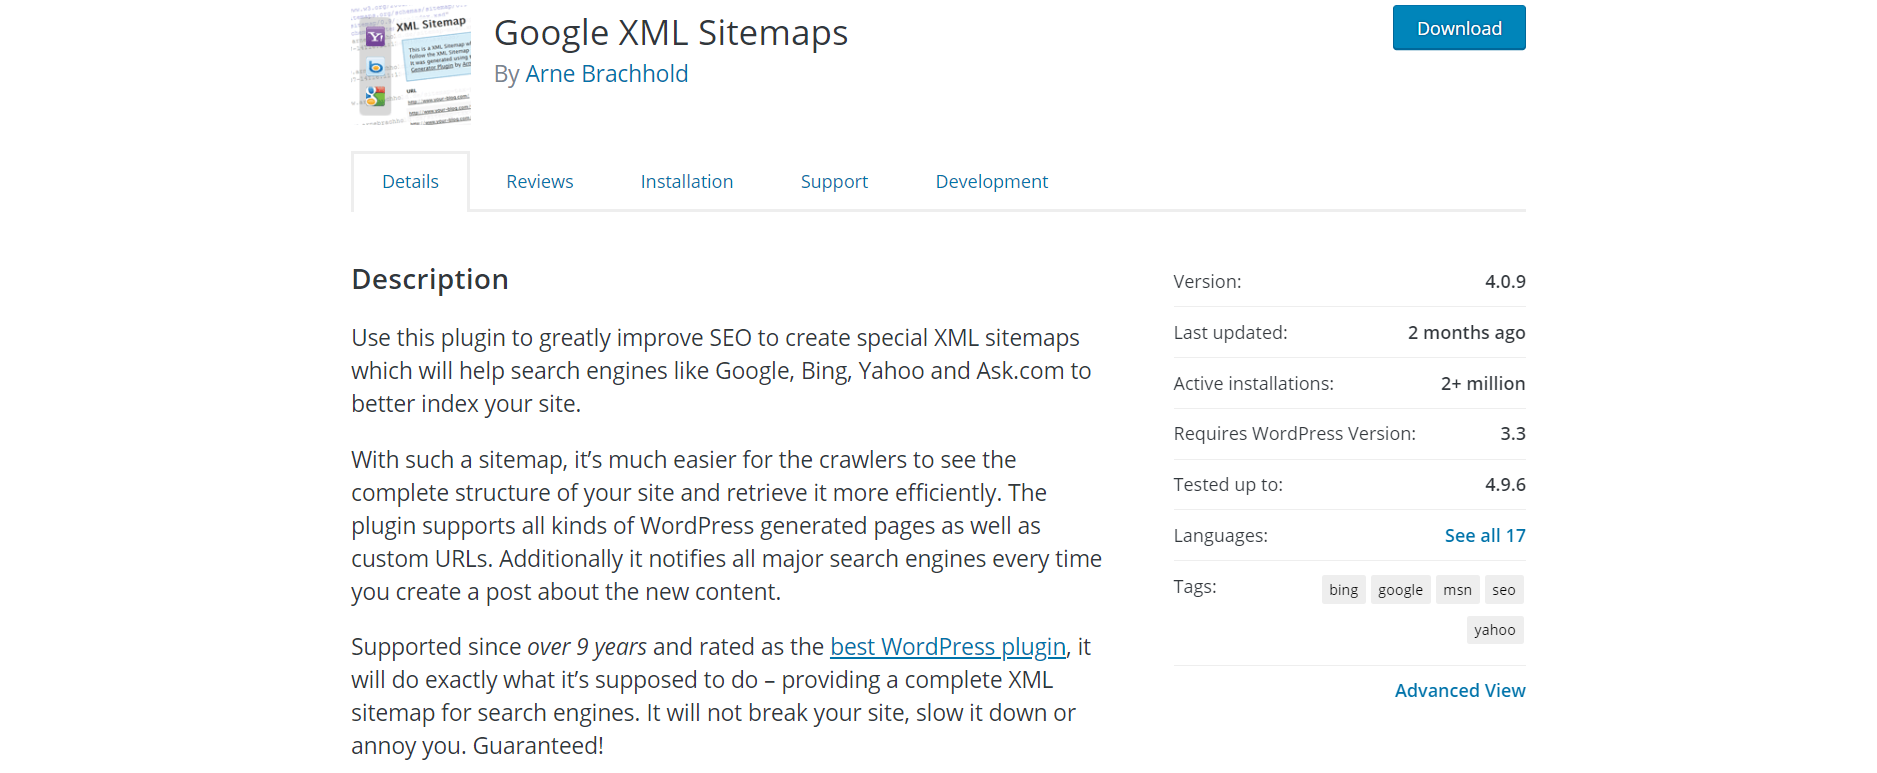
You can use a certain plugin to include the sitemap functionality in your site – it’s Google XML Sitemaps.
Once you get the plugin installed and activated it’ll work right from the get-go. No additional settings are required.
However, if you’re a more experienced user you can take advantage of many options and customization.
Submitting Your Sitemap.xml to Google
You’ll alert Google once you’ve enabled the plugin.
The best way of doing this is to sign up for a Google Webmaster Tools (GWT) account.
After adding your site to GWT — go to:
- Site Configuration
- Sitemaps
- Add/test
- Submit
In most cases the default URL is: domain.com/xxxxxxx.xml.
But, make sure that it’s the same for your domain before submitting it to GWT.
When you click “Submit” and everything goes well your file is now recognized by Google.
You should be presented with a notification and the basic dashboard of your sitemap stats.
That’s it, there are no extra steps.
Your site map is fully functional and Google sees it as a place to go for some reference about your website.